
Collaborative Editing Workflows: Tools and Tips
Written by: The Buddi Team
In the golden age of content creation, video editing is rarely a solo sport. Whether you are a small creative team building an indie brand, an animator sending frames to a director, or a production house passing a timeline down the pipeline from rough cut to color grading, collaboration is the secret to scaling your output.
But without a structured system, passing project files back and forth can quickly devolve into a nightmare of broken media links, accidental overwrites, and the dreaded file name: Project_Final_v2_REAL_Final_v3.prproj.
To save your sanity and speed up your render times, here is a breakdown of the ultimate tools and essential tips for building a seamless collaborative editing workflow.
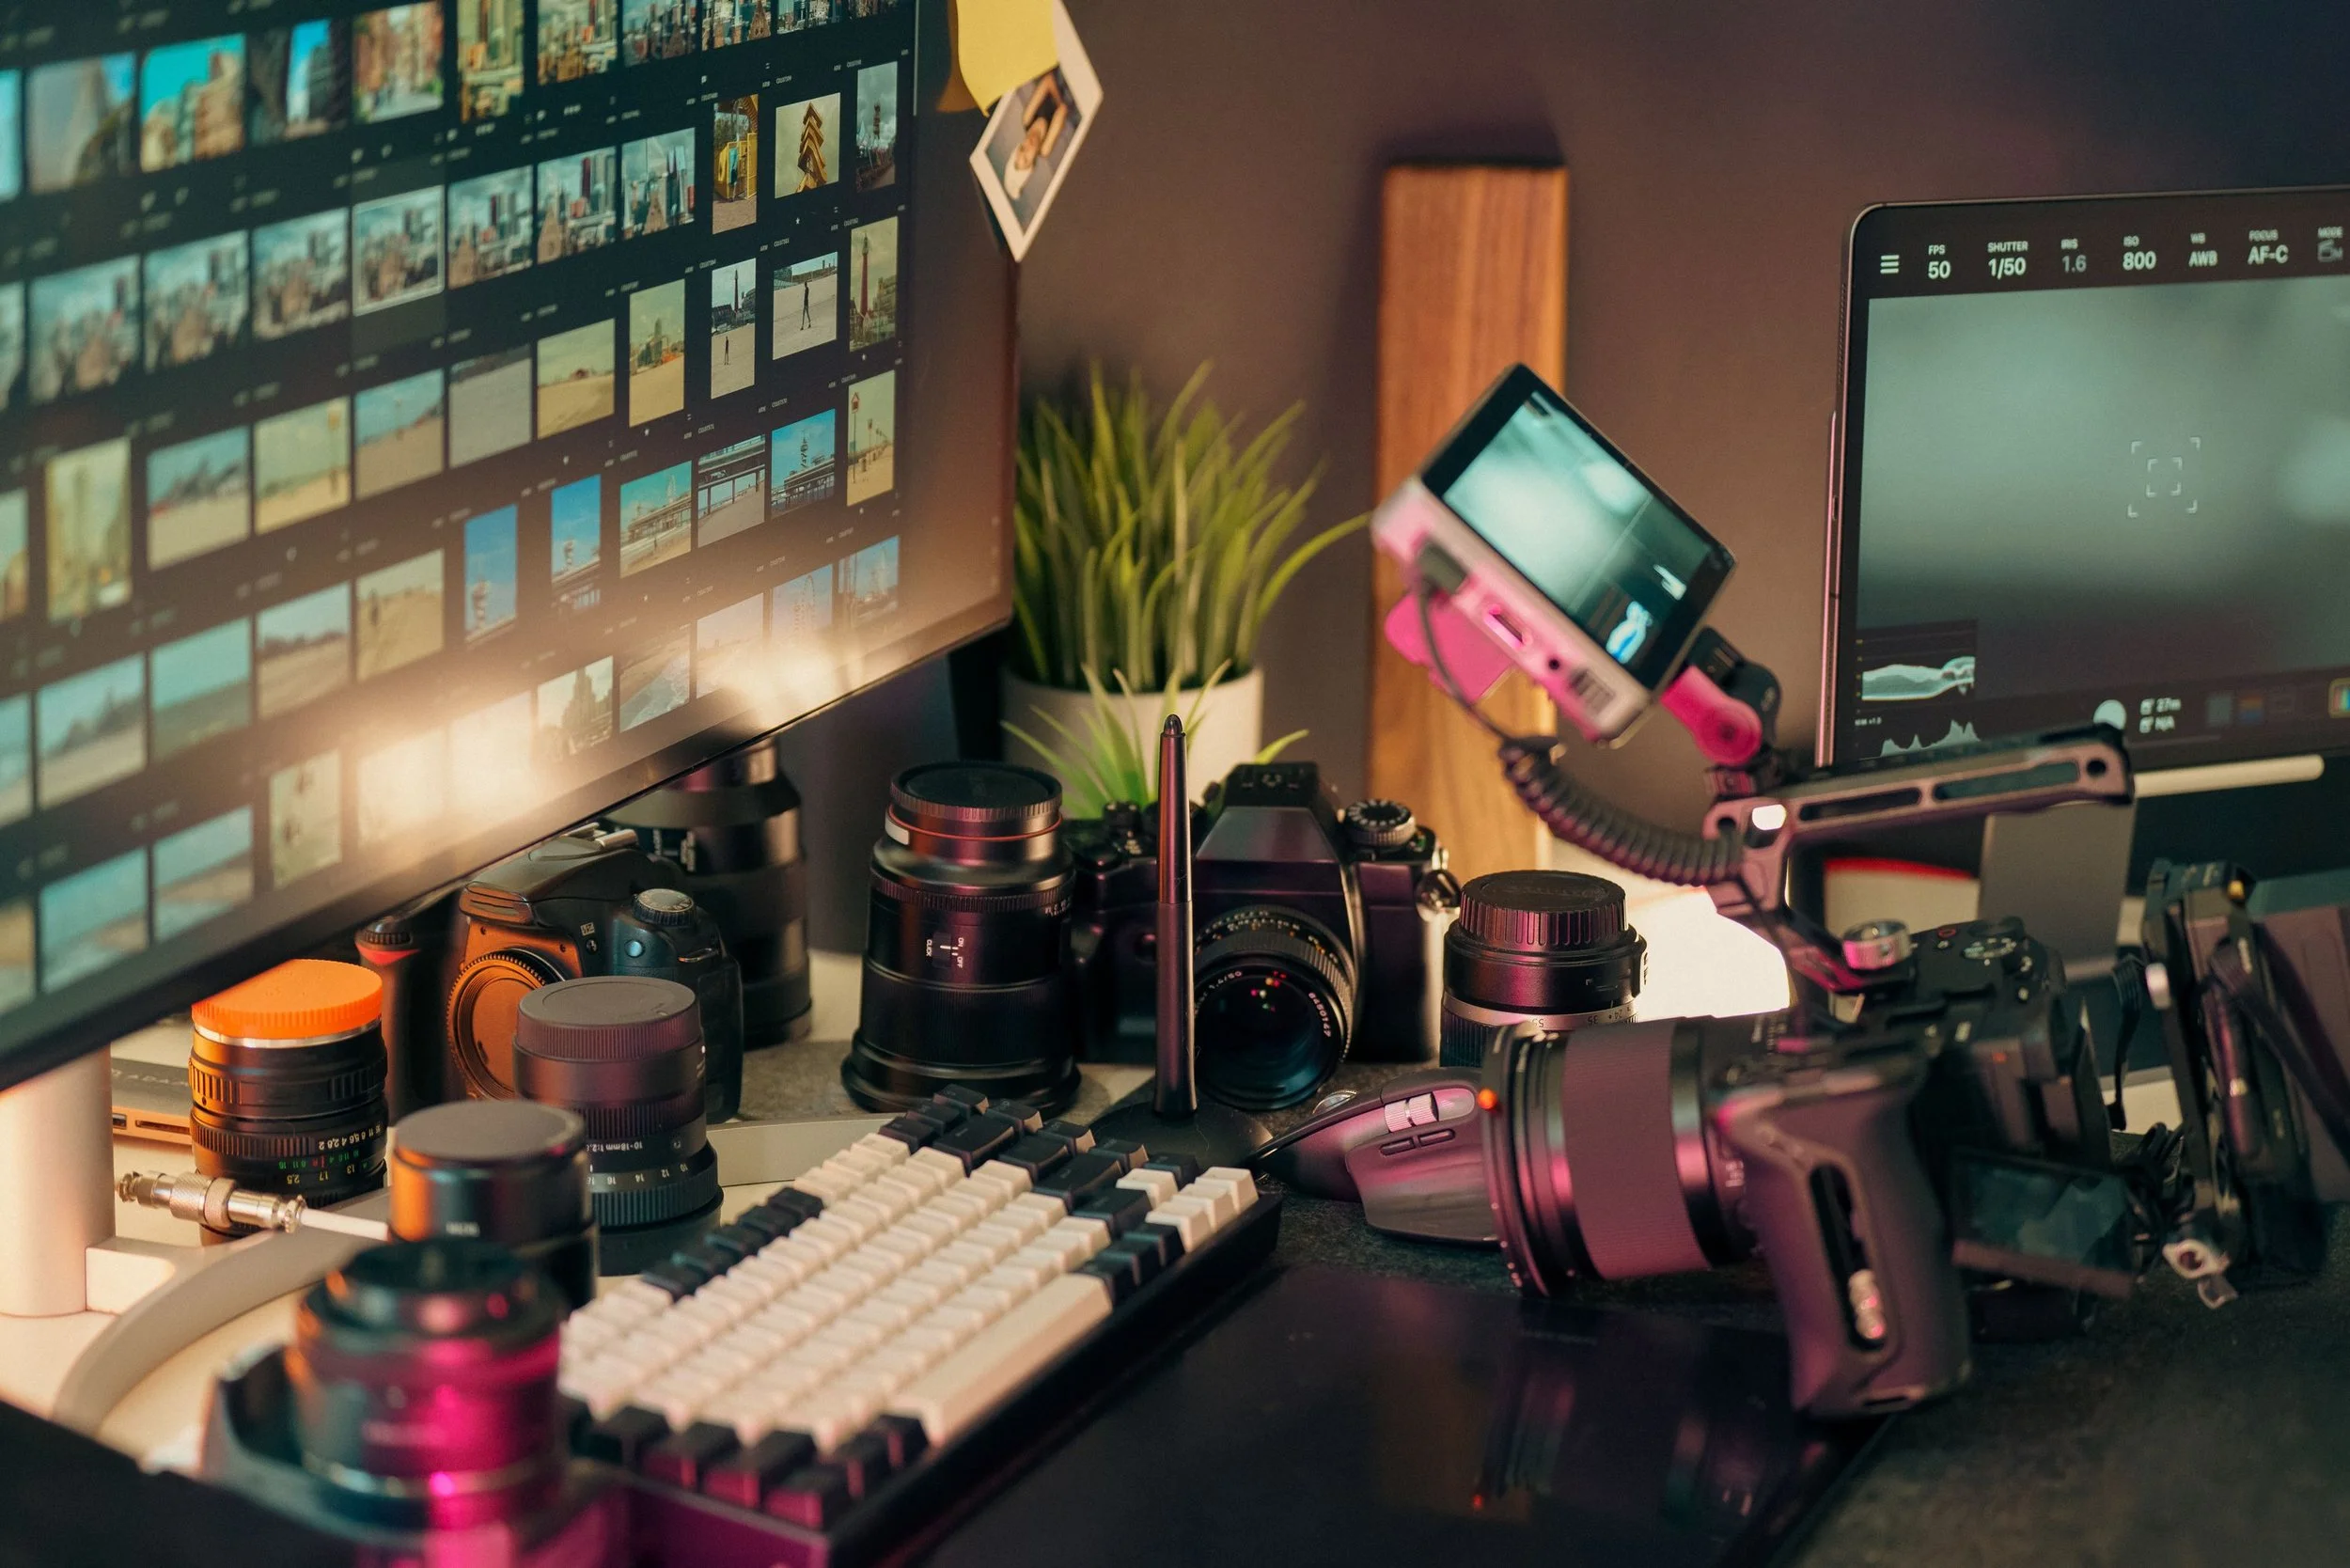
1. The Right Tool for the Job
The software you choose dictates how your team communicates. Modern post-production tools have moved far beyond simple local saving, offering powerful cloud-integrated environments:
Frame.io (Review & Approval): If you need client or director feedback, Frame.io is the gold standard. It allows reviewers to draw directly on the video frame and leave timecoded comments that sync straight into your editing timeline. No more deciphering vague emails about "that one frame around the middle."
Adobe Premiere Pro (Team Projects): Premiere’s Team Projects feature allows multiple editors to work on the exact same project file simultaneously. It uses a cloud-hosted database to track changes, allowing you to "share" your updates or "sync" someone else's work without overriding their timeline.
DaVinci Resolve (Cloud Collaboration): Resolve has revolutionized multi-user collaboration. Using the Blackmagic Cloud, an editor, a colorist, and a sound designer can all work inside the exact same timeline at the same time. While the editor trims a scene, the colorist can grade it in real-time without needing to export a single file.
2. Master Your Media Management
The biggest bottleneck in remote or shared editing isn't the software—it's the asset size. Shuffing hundreds of gigabytes of 4K or 8K footage across the internet will stall any project.
The Fix: The Proxy Workflow
Instead of sharing massive raw camera files, generate Proxies—low-resolution, lightweight copies of your footage (like ProRes Proxy or H.264).
The entire team can download these tiny files over standard internet connections and edit smoothly, even on a laptop.
When the edit is complete, the lead editor simply relinks the project back to the original high-resolution media on the local master drive for the final export.
3. Establish a Communication Protocol
Even with the best software, human error can break a workflow. Set strict ground rules before anyone imports a single clip:
Enforce a Naming Convention: Organize your project folders identically across every team member's system. Use clear, un-fussy folder structures: 01_Footage, 02_Audio, 03_Assets, 04_Exports.
Use Timeline Markers: If you are handing a timeline off to a sound mixer or colorist, use color-coded markers directly in the sequence to leave notes (e.g., Red for "Fix VFX here," Green for "Audio sweetening needed").
Version Control: Never overwrite a major cut. When a milestone is reached, duplicate the sequence and label it clearly using standard formatting, such as YYYYMMDD_ProjectName_RoughCut_v1.
The Ultimate Payoff
When your workflow is locked in, the friction disappears. Editors can focus entirely on pacing and emotional impact, graphic designers can drop assets straight into the timeline, and business owners can review cuts seamlessly from anywhere in the world.
Investing a few hours into setting up an organized, collaborative system today will save your creative team hundreds of hours of troubleshooting down the line.
Check out Buddisystems
Sign up for Buddisystems today and unlock a world of creative possibilities!