

Time-Lapse Photography for Filmmakers: Capturing Change
Written by: The Buddi Team
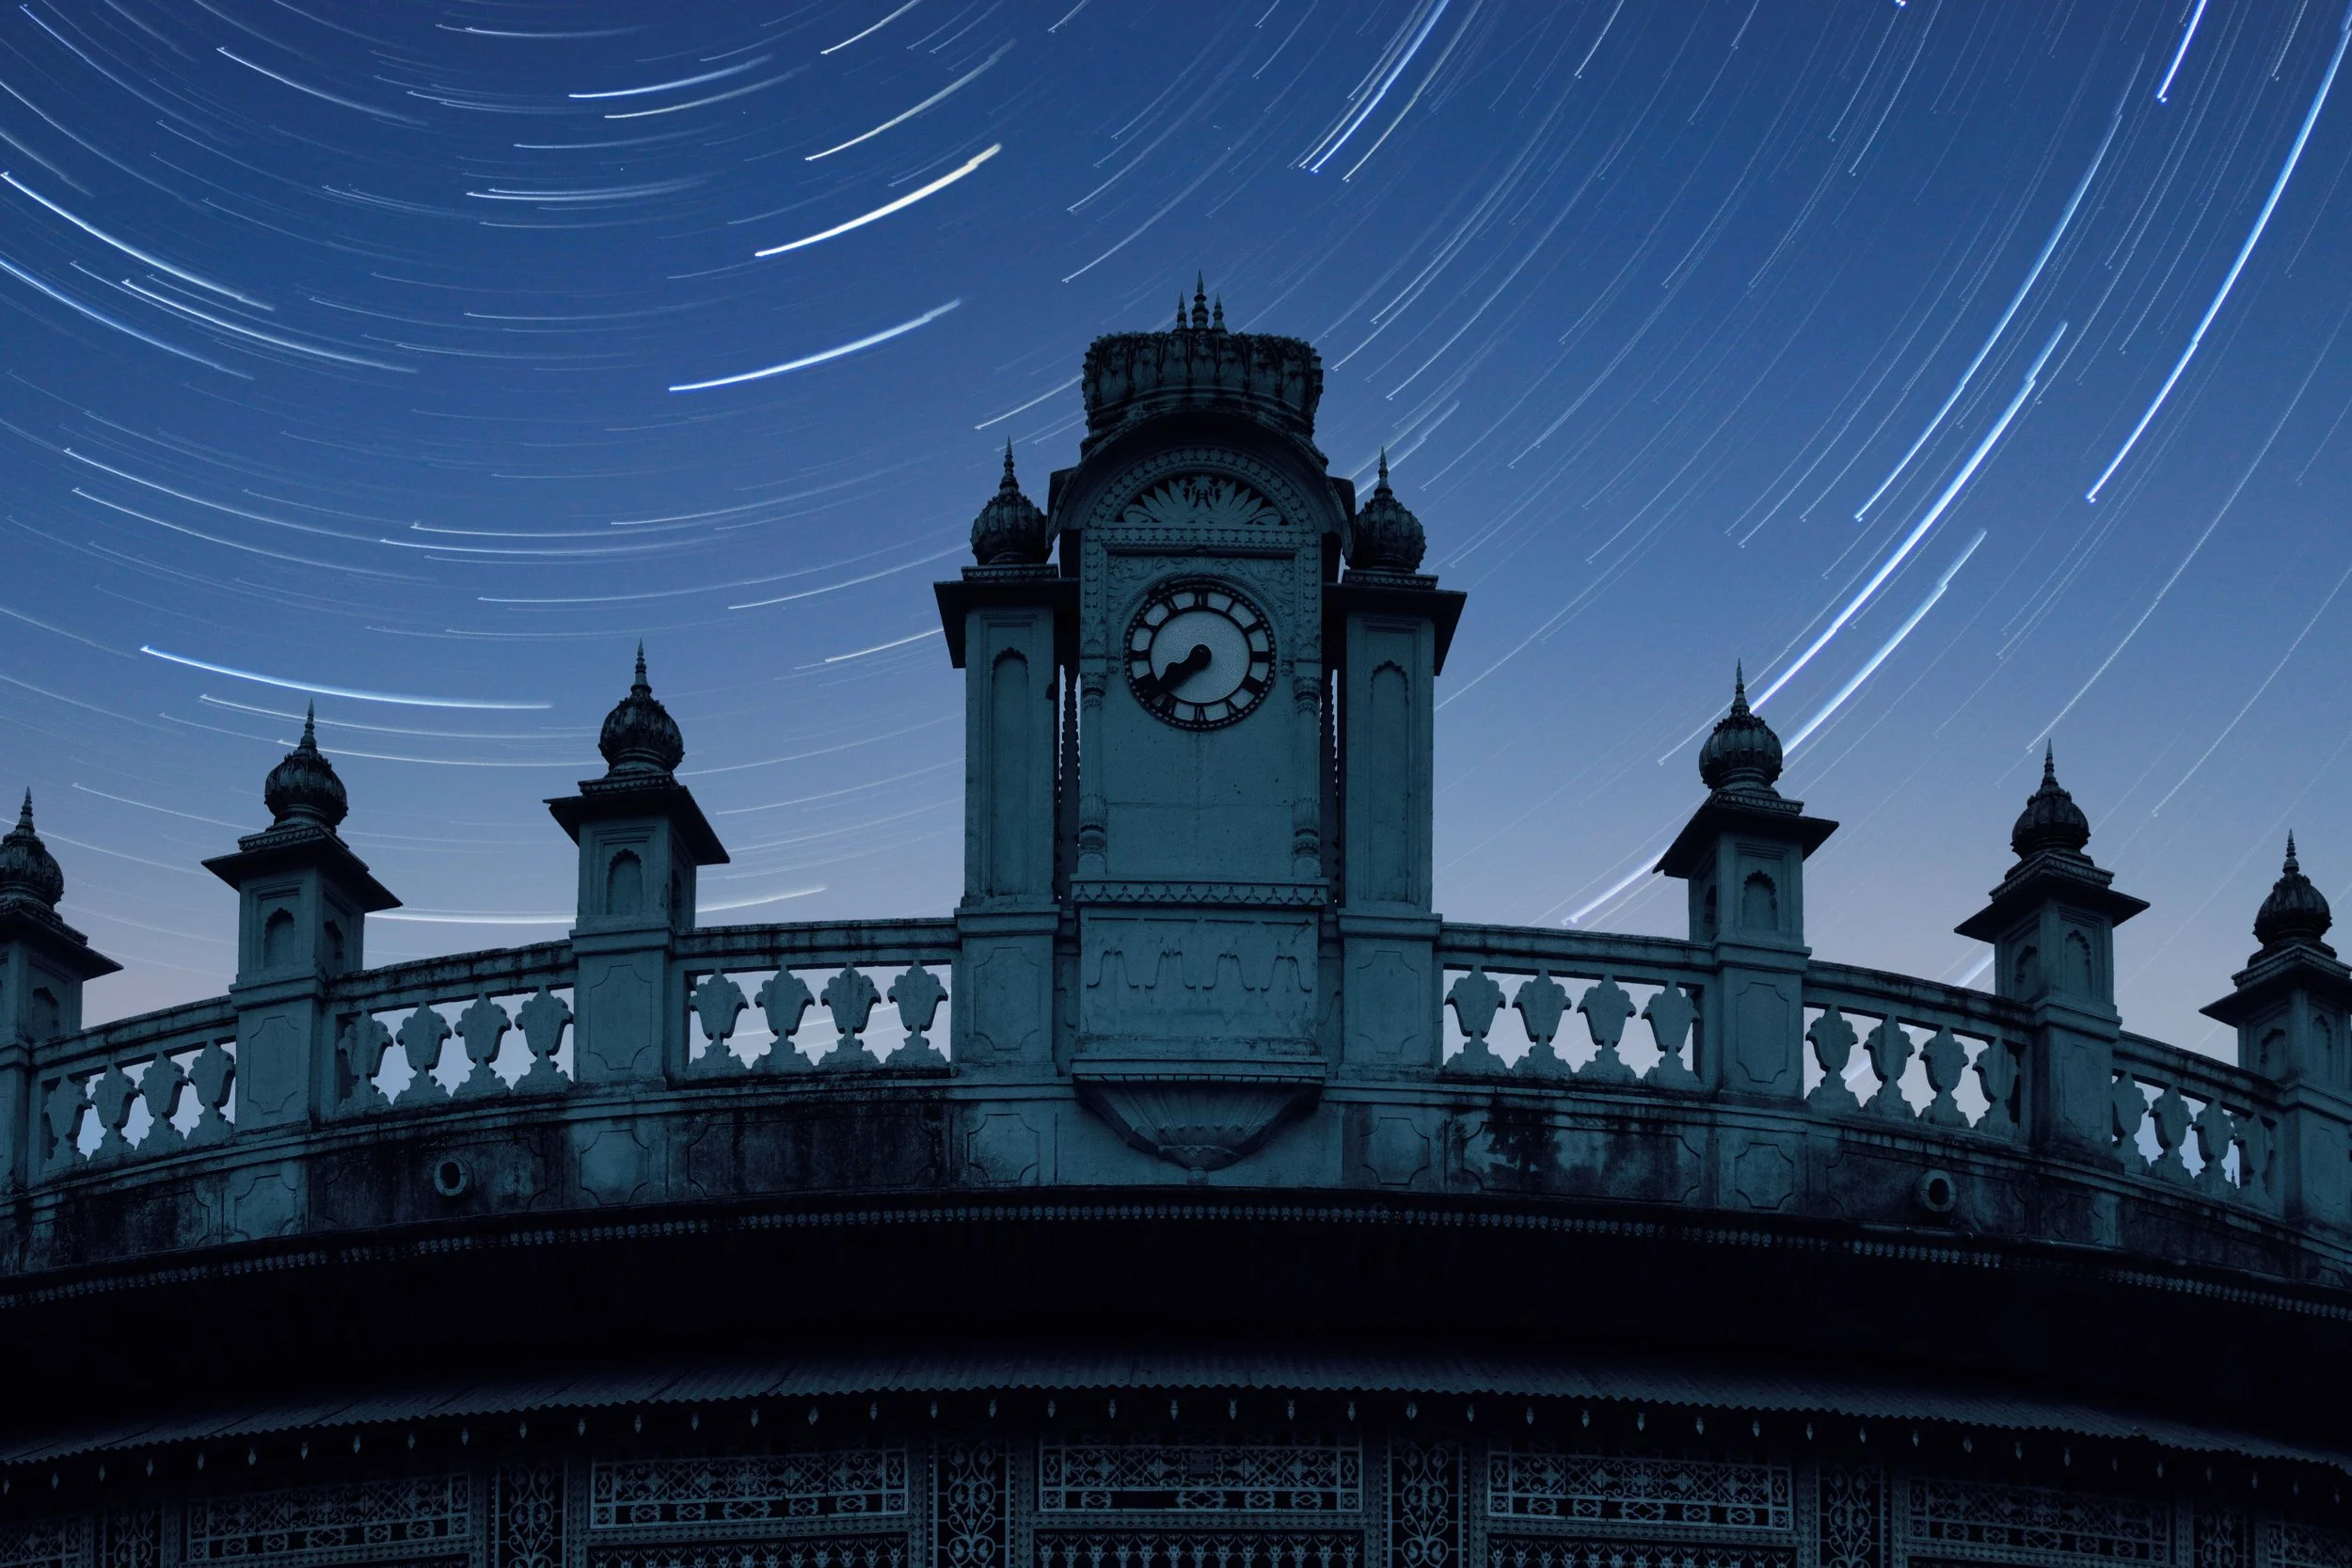
Time-lapse photography is one of the most powerful visual techniques in a filmmaker's toolkit, compressing hours, days, or months into seconds to reveal the hidden rhythms of dynamic environments. Whether you are tracking atmospheric weather shifts, city light cycles, or multi-week construction projects, mastering time-lapse requires a deliberate blend of planning, precise camera settings, and post-production control.
1. The Core Equipment & Gear Setup
To execute a seamless time-lapse sequence that holds up on a cinematic timeline, stability and consistency are non-negotiable.
Heavy-Duty Tripod & Weights: Micro-vibrations from wind or passing traffic can ruin an entire sequence. Use a heavy tripod, weigh down the center column, and avoid extending the center column if possible.
Intervalometer: An internal or external intervalometer controls the exact timing between every frame.
Neutral Density (ND) Filters: High-stop ND filters (such as a 6-stop or 10-stop) allow you to drag your shutter in daylight, producing smooth motion blur rather than jarring, strobe-like frames.
External Power Supply: High-frequency shutter cycles quickly drain standard camera batteries. Connect to a USB-C power bank or dummy battery for long-duration shoots.
2. Dialing in Manual Camera Settings
To ensure complete camera stability and eliminate exposure shifts that cause distracting frame flicker, lock down every setting manually on your camera body. Switching your exposure mode to fully manual guarantees that brightness remains consistent from frame to frame, while manual focus prevents the lens from hunting mid-sequence. Additionally, fixing your white balance to a specific Kelvin temperature avoids unwanted color-temperature drifts as ambient light changes, and turning off image stabilization prevents the sensor-shift mechanism from making micro-adjustments on a static tripod. Finally, recording in uncompressed RAW format preserves maximum dynamic range, providing the necessary latitude for shadow recovery and smooth deflickering during post-production.
3. Calculating Intervals for Cinematic Motion
The secret to smooth time-lapse sequence creation lies in matching your interval frequency to the speed of your subject.
Fast Motion (1–2 seconds): Busy pedestrian intersections, fast-moving traffic, or rapid cloud movements.
Moderate Motion (3–5 seconds): Slow-moving cloud cover, sunrises, sunsets, and casting shadows across architectural landscapes.
Slow Motion (10–30+ seconds): Night sky star tracking, slow environmental changes, or tides.
Extended Duration (Minutes to Hours): Construction sites, seasonal foliage transitions, or long-term structural changes.
The 180-Degree Shutter Rule for Time-Lapse: To achieve natural motion blur, aim for a shutter speed that equals roughly half your interval time. For example, if your interval is 4 seconds, shoot at a 2-second exposure using an ND filter.
4. Deflickering and Assembly in Post-Production
Even with manual settings locked down, minor aperture blade inconsistencies between shutter actuation clicks can introduce micro-flicker.
RAW Color Grading: Import your image sequence into your photo processor (such as Lightroom) to set exposure balance, shadow/highlight recovery, and color grading across keyframes.
Deflickering: Utilize specialized software tools like LRTimelapse to analyze luminance curves across all frames and smooth out sudden brightness jumps.
Video Assembly & Stabilizing: Render the image sequence as an uncompressed video file (such as ProRes 422 HQ) at your target frame rate (24 FPS or 30 FPS). Apply mild software stabilization if micro-vibrations occur.

Check out Buddisystems
Sign up for Buddisystems today and unlock a world of creative possibilities!